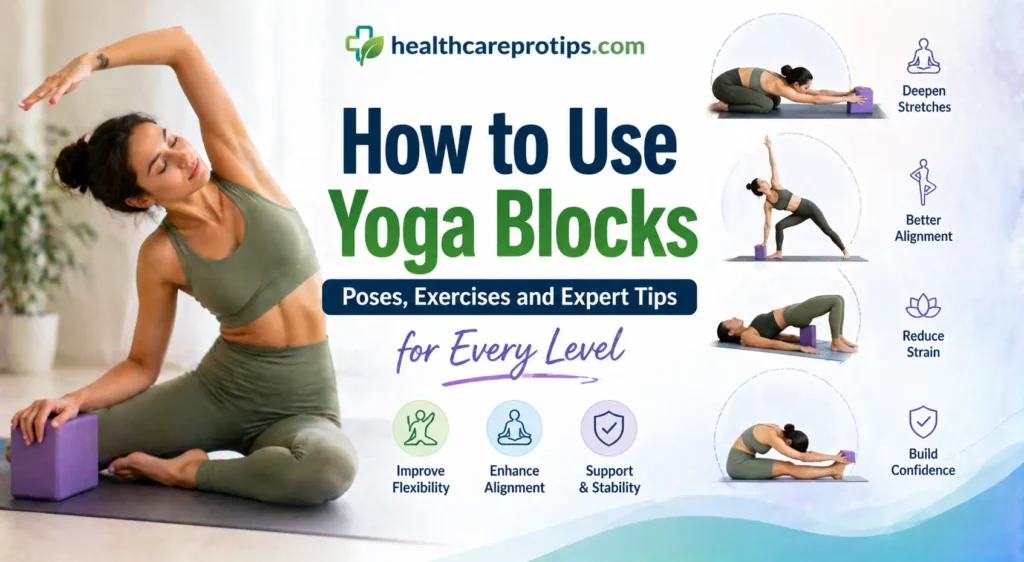
How to Use Yoga Blocks: Poses, Exercises and Expert Tips for Every Level
Yoga blocks are the most versatile and consistently underused prop in any yoga practice. Beginners assume they are a workaround for people who are not flexible enough yet. Advanced practitioners sometimes put them aside thinking they have graduated past needing them. Both assumptions are wrong.
A yoga block is not a crutch. It is a precision tool. It brings the floor closer to your hands, creates support where your body needs it most, deepens stretches safely, improves alignment in ways that protect your joints, and opens up entire categories of poses that would otherwise be inaccessible without strain or risk of injury. Used correctly, blocks do not make yoga easier. They make it more effective.
This guide covers everything: what yoga blocks are actually for, how to use them across different heights, specific poses and exercises for beginners through advanced practitioners, stretches, benefits, and tips from certified yoga instructors. Whether you just bought your first pair of blocks or have had them sitting untouched in a corner for months, here is how to use them properly.
What Are Yoga Blocks and What Are They Used For?
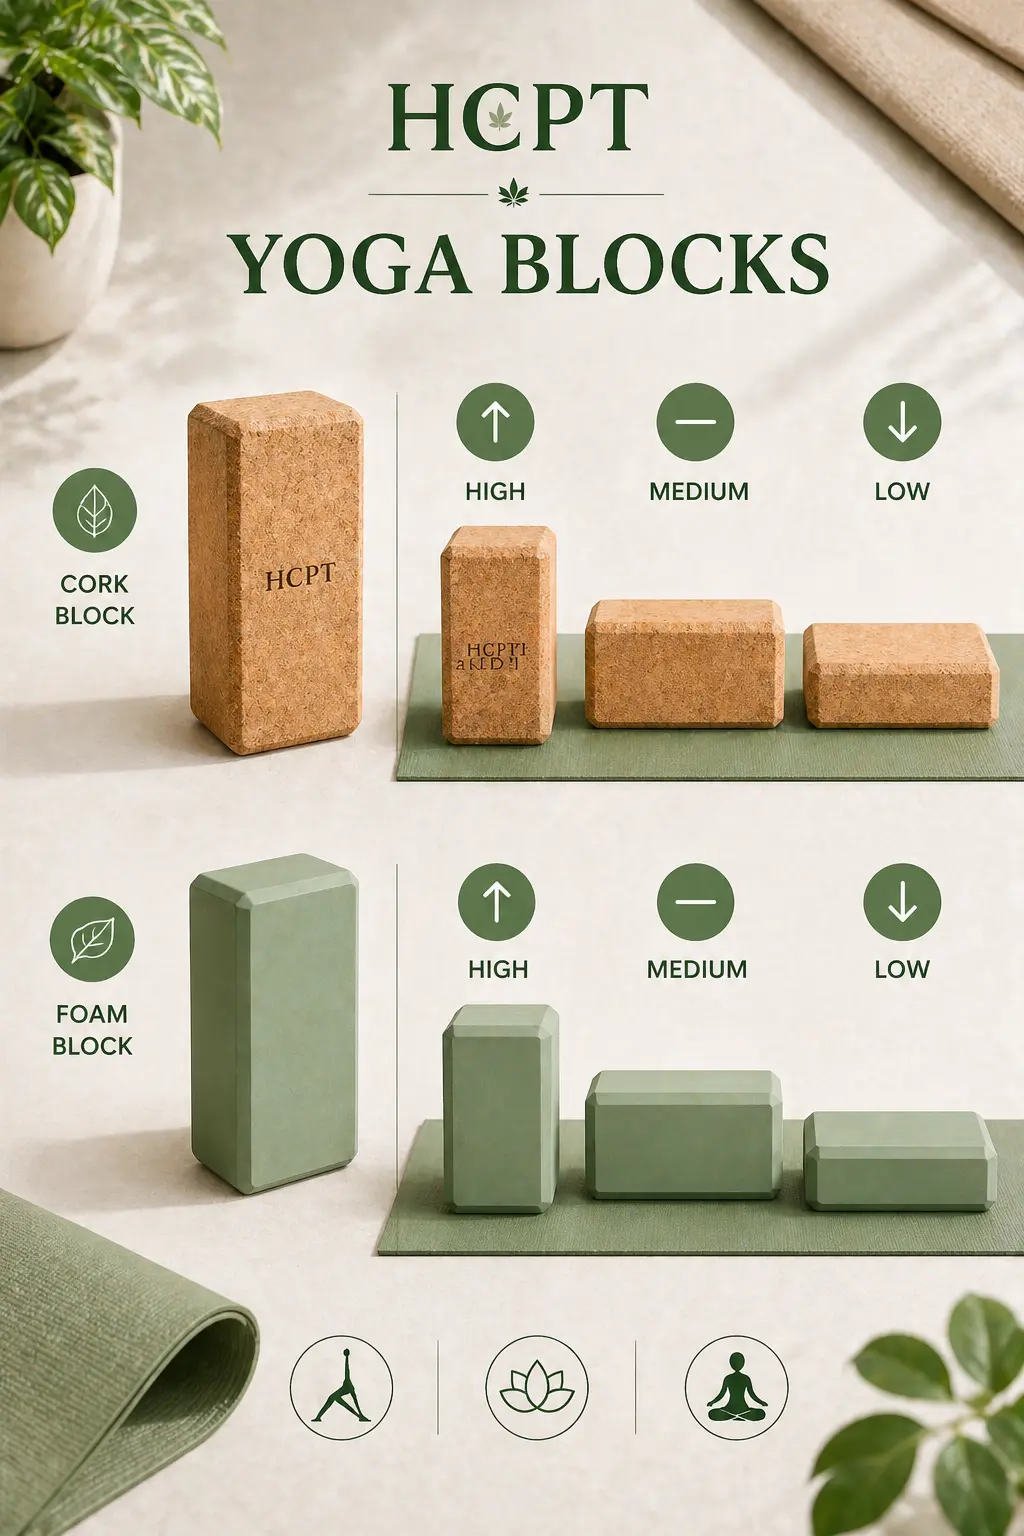
A yoga block is a rectangular prop, typically made from foam, cork, or wood, that supports the body during yoga poses. They come in a standard brick shape with three different height settings: low (the narrowest side), medium, and high (the tallest side). This adjustability is what makes them so versatile across different poses, body types, and flexibility levels.
As Peloton Instructor Kirra Michel explains, yoga blocks serve one core purpose: “They lift the ground up to you if you cannot reach the ground yet, which allows the posture to be performed with more integrity and without compensating the pose.” That phrase, lift the ground up to you, is the most useful mental model for understanding when and why to use them.
The Three Primary Uses of Yoga Blocks
- Support and accessibility: Bringing the floor closer so you can maintain correct alignment without forcing your body into a position it is not ready for
- Deepening stretches: Adding height or leverage to intensify a stretch safely beyond what you could achieve without support
- Strength and balance training: Using blocks as an unstable or elevated surface to add challenge and resistance to poses
Who Should Use Yoga Blocks?
Everyone. That is not marketing language. According to the American Council on Exercise (ACE), yoga blocks help beginners maintain proper body alignment, assist practitioners with limited flexibility or injury-related mobility restrictions, and give advanced practitioners a way to deepen techniques and access more challenging variations of poses. No level of experience makes them irrelevant.
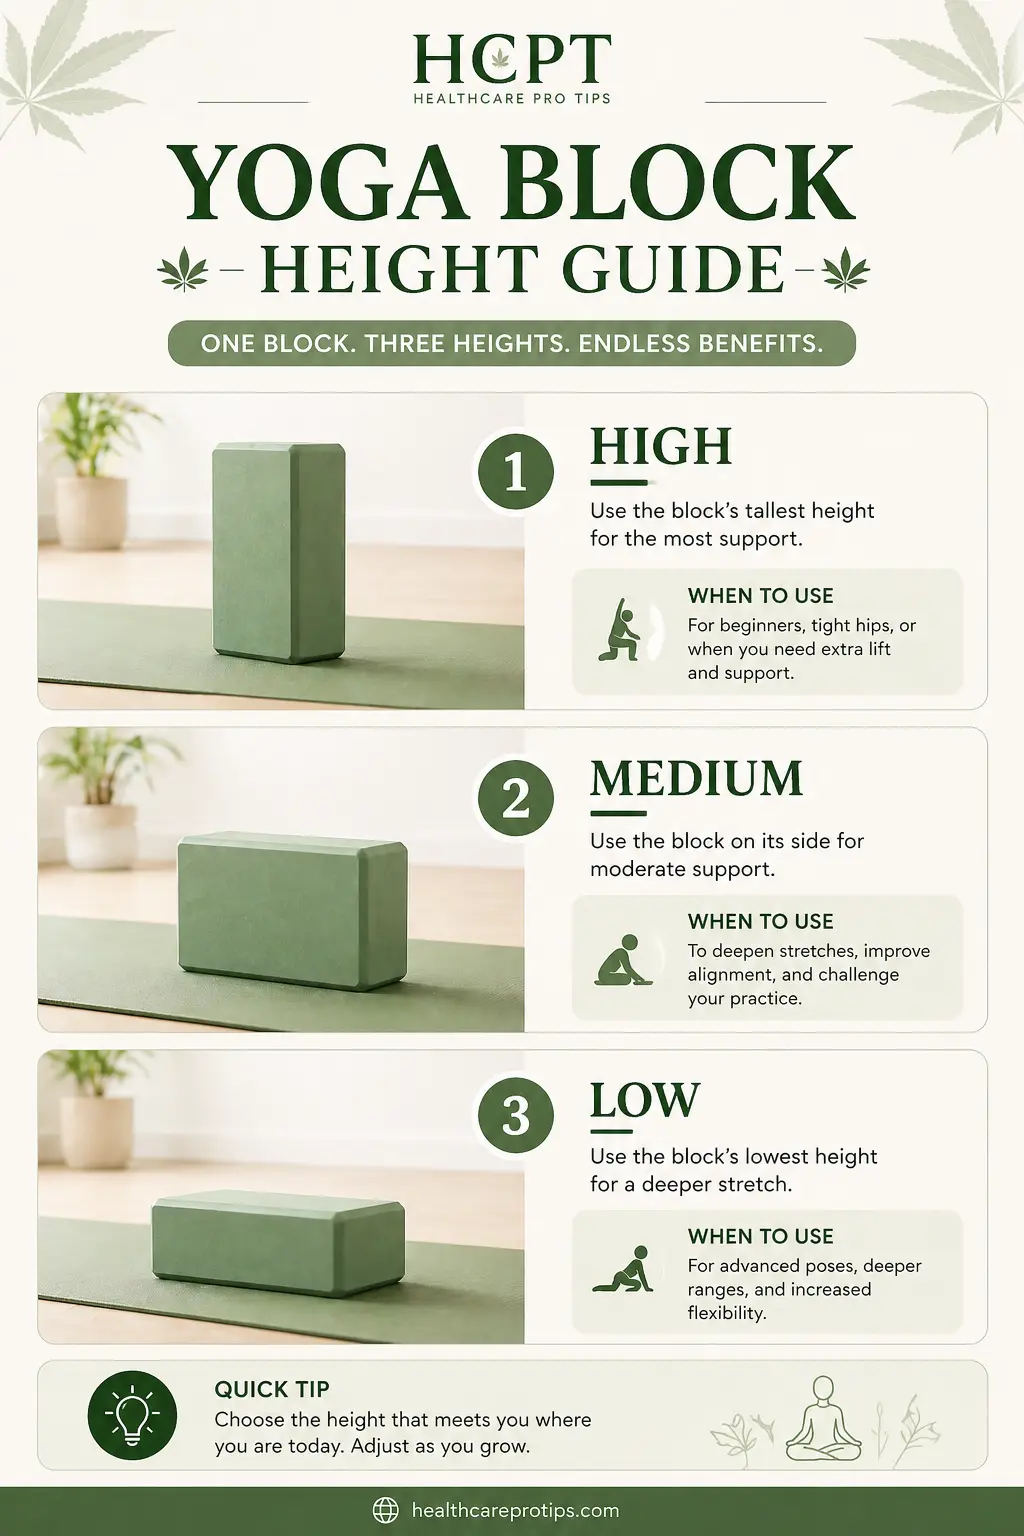
The Three Heights and When to Use Each One
One of the most important things to understand about yoga blocks is that they have three distinct height positions, and which height you use changes the nature of the pose significantly. Most people use only one height and miss out on the full range of what the block can do.
| Height Position | When to Use It | Best For |
|---|---|---|
| High (tallest side up) | When you need the most elevation and support | Beginners, tight hamstrings, standing poses, initial flexibility work |
| Medium (middle width) | When you have some flexibility but need partial support | Intermediate poses, seated work, gradually reducing dependence on full height |
| Low (flattest side up) | When you just need a slight lift or to add challenge | Advanced modifications, balance work, strength exercises, near-floor reach poses |
A good rule of thumb from yogashop instructors: start with the tallest side and work your way down as your flexibility and strength improve. This gradual progression approach gives you a clear way to track your development over time and ensures you are always working at a level that challenges you without creating strain.
Benefits of Using Yoga Blocks
Understanding the specific benefits helps you use blocks intentionally rather than just reaching for them when a pose feels out of reach. Each benefit below is a genuine, functional reason to incorporate blocks into regular practice.
1. Improved Alignment and Injury Prevention
Proper alignment is the foundation of safe yoga practice. When you cannot reach the floor in a standing pose, the natural instinct is to collapse through the spine, rotate the torso, or collapse a knee inward to compensate for the gap. All of these compensations put uneven load on joints and connective tissue. A block closes that gap and allows the body to hold the correct structural position without strain.
According to Mayo Clinic, proper body alignment prevents excess strain on joints, muscles, and the spine, reduces the likelihood of injury, and improves muscular efficiency. Yoga blocks directly support this by ensuring the body remains structurally correct even when full range of motion is not yet available.
2. Deeper Stretches and Greater Flexibility Over Time
Blocks allow you to hold poses for longer periods at a depth that is challenging but sustainable. Longer holds under appropriate tension produce greater flexibility gains over time than forcing a pose to its maximum immediately and holding for a shorter duration. Research cited by Harvard Health Publishing supports the principle that a well-stretched muscle more easily achieves its full range of motion, and that yoga specifically combines stretching and relaxation in ways that improve both balance and flexibility effectively.
3. Accessible Practice for All Body Types and Levels
As Dr. Darshan Mehta, Medical Director of the Benson-Henry Institute for Mind Body Medicine at Harvard-affiliated Massachusetts General Hospital, notes: “People think they have to be super-flexible and thin to do yoga, and that is just not true. I also do not think people realise how many varieties of yoga can be adapted to the individual.” Yoga blocks are the primary tool that enables this adaptation, making poses accessible regardless of body proportions, current flexibility, or physical limitations.
4. Strength Building
Blocks are not only for flexibility work. Squeezing a block between the thighs activates the inner thigh muscles and core throughout a sequence. Using blocks as an elevated hand position in push-up or plank variations adds range of motion and increases difficulty. Balancing on a block challenges proprioception and engages stabilising muscles that standard floor practice does not reach in the same way.
5. Faster Progress for Beginners
Using blocks does not slow down your progression. It accelerates it. When you can access the correct alignment of a pose, even with support, the body builds the muscular memory, flexibility, and strength specific to that pose. Over time, you require less support because your body has genuinely adapted. Forcing poses without support, on the other hand, trains incorrect patterns that become harder to undo.
“Using blocks during your yoga practice is a great way to add stability, improve alignment and enhance your ability to perform a wide range of yoga poses. They help make yoga accessible to beginners and those experiencing injury or other physical limitations, while bringing awareness to properly engage and support muscles in a specific pose.”
Stephanie Thielen, BS, ACE Group Fitness Instructor and Personal Trainer, American Council on Exercise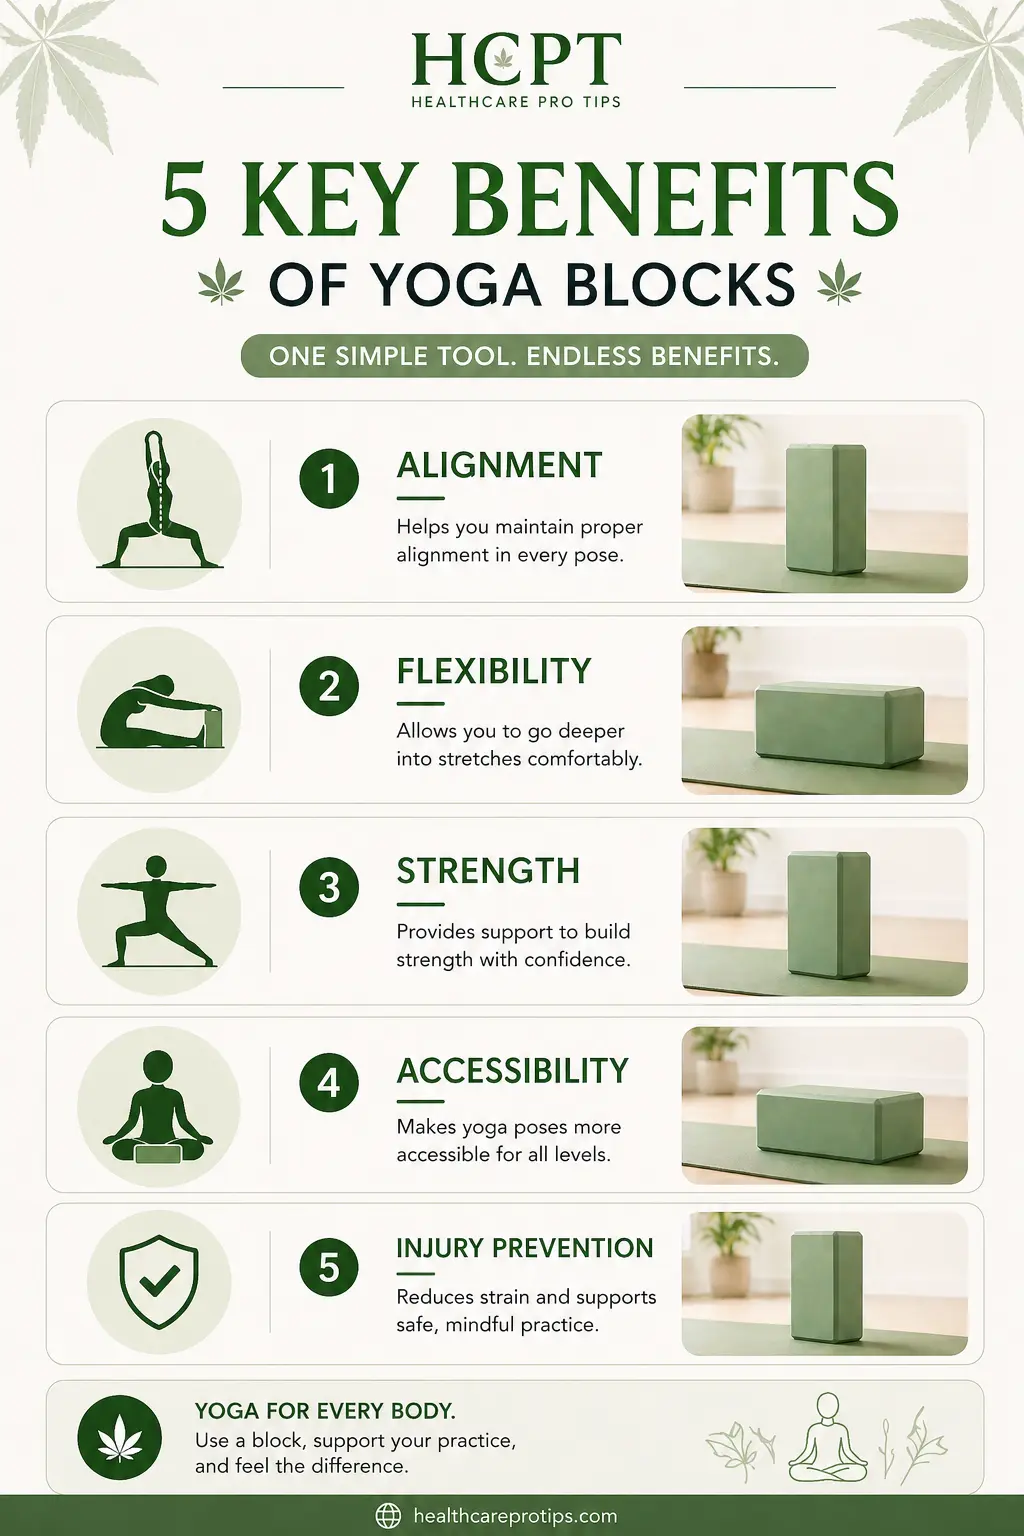
Yoga Block Exercises for Beginners
These exercises are specifically chosen for people new to using blocks. Each one introduces a foundational use of the block in a low-risk way that builds understanding of how the prop changes a pose. Practice these before moving on to more advanced applications.
1. Seated Staff Pose with Block Support (Dandasana)
How to do it: Sit on the floor with your legs extended straight in front of you. If your lower back rounds heavily or your hips feel tight, place one or two blocks beneath your sit bones. Sit tall, press through your heels, engage the thighs, and lengthen the spine upward. Hands rest on the floor or thighs.
Why it works: Placing blocks under your sit bones tilts the pelvis forward naturally, which instantly takes the strain off the lower back and allows the spine to lengthen without effort. Most people who struggle to sit upright in this pose are fighting tight hamstrings. The block solves the problem immediately.
2. Hero Pose with Block (Virasana)
How to do it: Kneel with knees and feet hip-distance apart. Place a block on its medium height between your shins. Slowly sit back onto the block. Lengthen the spine, engage the core gently, and rest palms on thighs.
Why it works: Sitting directly on the heels places significant compression on the knee joint. Lifting the hips above knee level with the block immediately reduces this pressure and makes the pose comfortable and sustainable. This is a key beginner modification recommended by ACE fitness instructors.
3. Child’s Pose with Block Under Forehead (Balasana)
How to do it: From a kneeling position, bring big toes together and knees wide. Extend arms forward and lower your torso. Place a block on medium height under your forehead so your neck rests naturally without straining downward.
Why it works: When the forehead does not reach the mat, the neck either strains forward or tucks awkwardly. A block fills the gap and allows complete relaxation of the neck and upper spine. You can also place a block under the chest for additional torso support.
4. Butterfly Pose with Blocks Under Knees (Baddha Konasana)
How to do it: Sit with the soles of your feet together and knees open to the sides. Place a block under each knee or thigh to support them at whatever height feels comfortable without strain.
Why it works: Tight hips cause the knees to remain elevated above the hips, which creates a pulling sensation in the groin and inner thighs. Supporting the knees with blocks removes the passive stretch tension, allowing the inner thighs to relax and gradually open over time rather than tensing against forced pressure.
How to Use Yoga Blocks in Key Poses
These are the most commonly practiced yoga poses where blocks make the most significant functional difference. Each entry covers the setup, block placement, and why it matters for that specific pose.
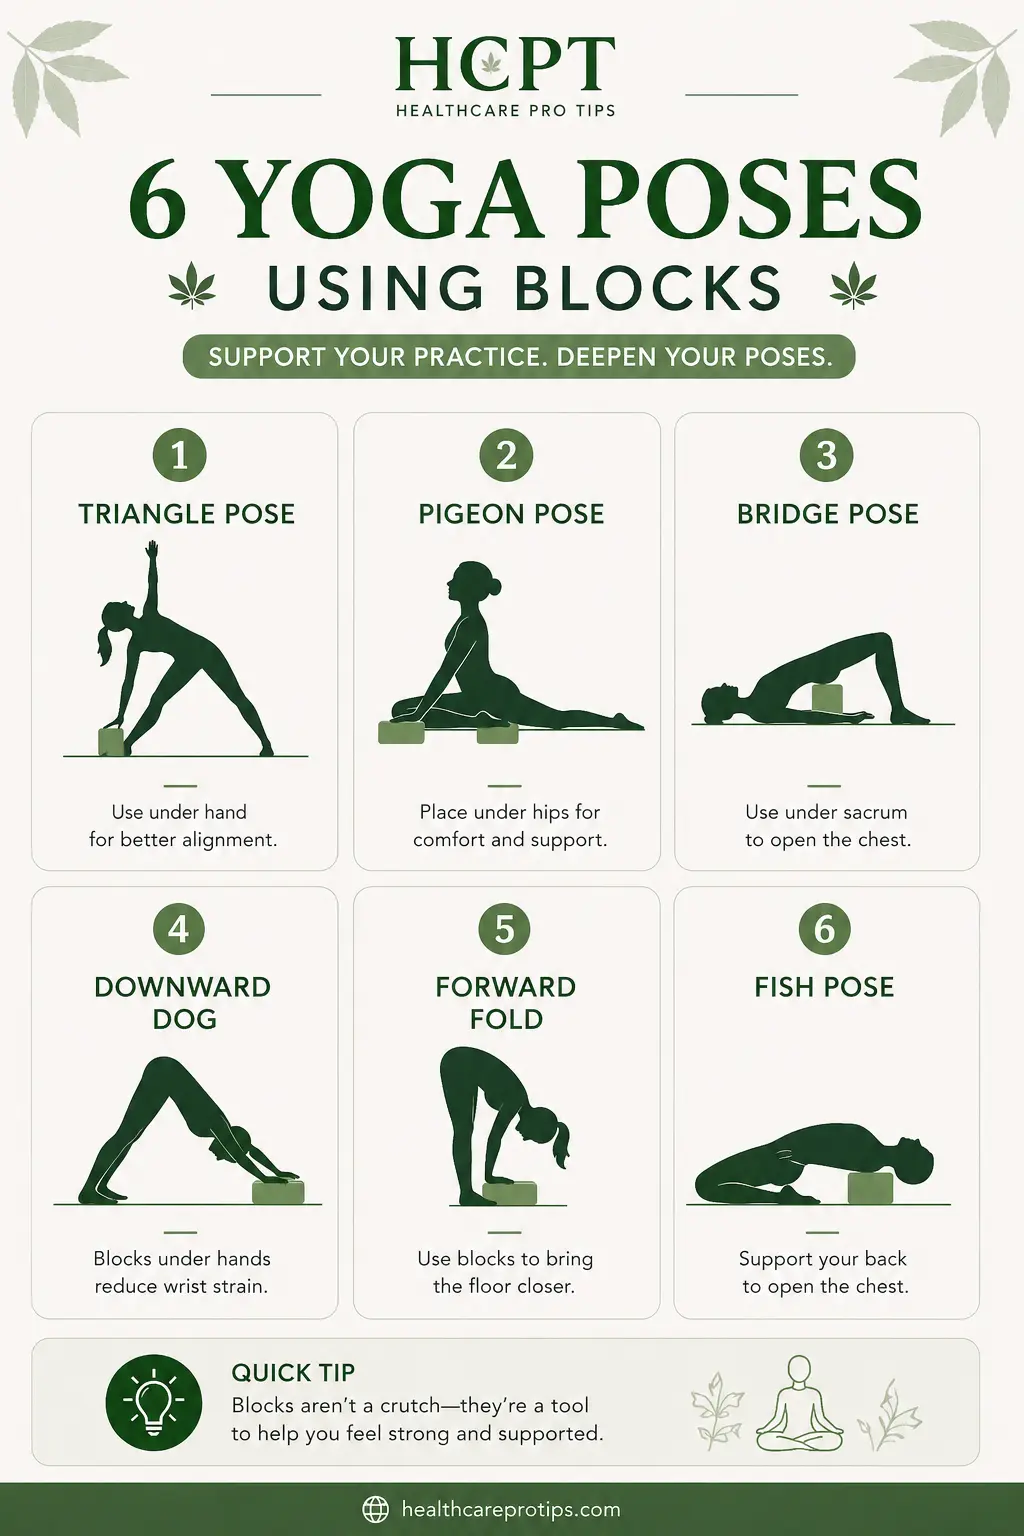
Triangle Pose (Trikonasana)
Block placement: Place one block on its high or medium setting on the inside of your front foot. Instead of reaching for the floor with your lower hand, rest it on the block.
Why: Triangle pose requires the torso to remain in one lateral plane with the chest open and the spine long. When the lower hand reaches for the ankle or floor but cannot get there without collapsing the chest or rounding the spine, the entire alignment of the pose is compromised. A block at the right height brings the floor to your hand and keeps the body completely linear. Tight hamstrings are the most common reason people cannot reach the floor here, and a block is the correct fix.
Pigeon Pose (Eka Pada Rajakapotasana)
Block placement: Place a block under the hip of your bent front leg. Adjust the height based on how much lift you need to keep your hips level.
Why: In pigeon pose, the hip of the bent leg often lifts off the floor because the external rotation of that hip is not yet available. This creates an uneven pelvis, which puts direct stress on the lower back and the knee of the front leg. A block under the hip of the bent leg squares the pelvis immediately and removes that stress, allowing the pose to be held longer and more safely.
Bridge Pose with Block Support (Setu Bandhasana)
Block placement: Lie on your back with knees bent. Lift your hips and slide a block under your sacrum, the flat bony area just above the tailbone. Rest the weight of your hips onto the block at whichever height is comfortable.
Why: This turns bridge pose into a restorative inversion. The block supports the hips passively, which decompresses the lower spine and releases chronic tension in the lower back without requiring any muscular effort. It is one of the most useful everyday stretches available for people who sit for long periods.
Downward Facing Dog (Adho Mukha Svanasana)
Block placement: Place a block under each palm at medium height. Press through the blocks as you would the floor.
Why: Elevating the hands in downward dog reduces the angle of wrist extension, which is particularly helpful for practitioners with wrist pain, sensitivity, or weakness. It also creates a slightly different stretch through the shoulders and upper back. For those with very tight hamstrings where the heels do not yet reach the floor, blocks under the hands shift the weight distribution in a way that feels more accessible.
Seated Forward Fold (Paschimottanasana)
Block placement: Sit on a block or folded blanket to tilt the pelvis forward. Rest your hands on a block placed across the shins or feet if you cannot reach them.
Why: The forward fold is frequently practiced with a rounded spine as people strain to reach their feet. This reverses the intended benefit entirely. A block under the sit bones brings the pelvis into an anterior tilt, and blocks or a strap at the feet allow the arms to extend without the spine collapsing. The fold then comes from the hips rather than the back, which is where the stretch is meant to originate.
Supported Fish Pose (Matsyasana) with Two Blocks
Block placement: Place one block horizontally at the base of your shoulder blades and a second block at a lower height under the back of your head.
Why: This is one of the most effective restorative poses for opening the chest and counteracting the forward-rounded posture most people develop from desk work. The blocks passively open the chest and thoracic spine over time with no muscular effort required. Hold for two to five minutes for a genuinely therapeutic effect.
Yoga Block Stretches for Flexibility
These stretches focus specifically on using yoga blocks to increase range of motion in the areas most people are tightest: hamstrings, hips, chest, and thoracic spine.
Reclined Bound Angle with Block Support
Lie on your back, bring the soles of your feet together, and let the knees fall open to the sides. Place a block under each outer thigh or knee to support them at a height that allows the inner thighs to relax completely without feeling a sharp pull in the groin. Hold for three to five minutes. This is one of the best passive hip-opening stretches available.
Standing Forward Fold with Block Under Hands
Stand with feet hip-width apart. Place blocks on the high setting in front of your feet. Hinge forward from the hips and rest your hands on the blocks instead of reaching for the floor. Let the spine hang heavy, relax the neck, and hold for one to two minutes. As flexibility increases, lower the block height.
Chest Opener Over Block
Sit on the floor and place a block horizontally at medium height behind you, positioned to sit at the mid-thoracic spine when you lean back over it. Gently recline over the block with arms extended overhead or resting by your sides. This is a counter-stretch for desk posture and rounded shoulders. Hold for 60 to 90 seconds and breathe deeply into the chest.
Low Lunge with Block Under Back Knee
From a low lunge position with back knee down, place a folded blanket or block under the back knee to cushion it against the floor. This allows you to hold the hip flexor stretch longer without the knee discomfort that often limits duration. Hip flexor tightness from sitting is one of the most common contributors to lower back pain, and this stretch directly addresses it.
Using Yoga Blocks for Strength and Balance
Blocks are not only passive support tools. Used in active ways, they add meaningful challenge to strength and balance work.
Inner Thigh Activation: Block Squeeze in Chair Pose
Hold a block between your inner thighs throughout chair pose. Squeeze the block firmly without letting it drop. This activates the adductors and pelvic floor and creates significantly more muscular engagement than chair pose without a block. The feedback of the block also improves awareness of how much the knees tend to collapse outward or inward under load.
Core Work: Block Between Hands in Plank
Hold a block between both palms in a high plank position. Press the block inward with the palms to engage the chest, shoulders, and core simultaneously. This technique is commonly used in Pilates-influenced yoga flows and adds significant difficulty to an otherwise standard plank hold.
Balance Challenge: Half Moon Pose with Block
Place a block under the lower hand in half moon pose (Ardha Chandrasana). The block elevates the hand, which challenges balance and proprioception more than having the hand on the floor, as the reduced distance between the block and the floor changes the lever mechanics of the pose. This is an advanced progression that significantly increases the stability demand on the standing leg.
Wrist Strength: Elevated Push-Up Position
Place two blocks on their lowest height parallel to each other and do push-ups with your palms on the blocks rather than the floor. The elevation adds range of motion at the bottom of the movement and reduces wrist extension angle, making push-ups more accessible for people with wrist sensitivity while simultaneously increasing the chest and shoulder stretch.
Choosing the Right Yoga Block
Not all blocks are equal. The material makes a real difference depending on how you intend to use them.
| Material | Feel and Weight | Best For | Considerations |
|---|---|---|---|
| Foam (EVA) | Light, soft, affordable | Beginners, restorative yoga, travel, body sensitivity | Less stable under full bodyweight; not eco-friendly |
| Cork | Firm, heavier, textured grip | Standing poses, balance work, wrist support, durability | Heavier to carry; slightly rough texture |
| Wood | Very firm, heaviest | Iyengar yoga, maximum stability | Uncomfortable for prolonged contact; slippery when wet |
For most practitioners, cork blocks offer the best overall performance. They are stable enough for standing and balance work, provide natural grip, are naturally antimicrobial, and are eco-friendly. Foam blocks work well as a second block for restorative poses or for anyone prioritising lightness and comfort over firmness.
“Yoga blocks will help you find thoughtful, comfortable alignment in your practice, and give you a variety of options, sensation and creativity too. It is often safer, more comfortable and generally steadier to lean on a block than to force the body into a position it is not ready for.”
Yoga Instructor, as quoted in Fit&Well, December 2024Expert Tips for Getting the Most Out of Yoga Blocks